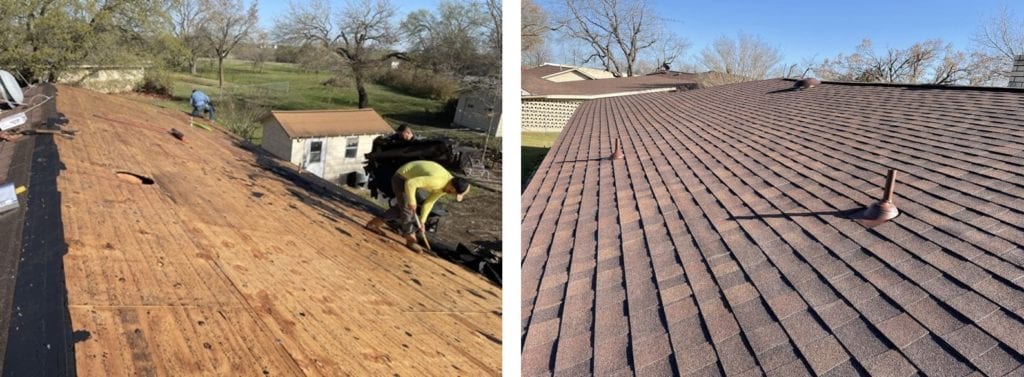
Have you ever thought or heard someone say, “Oh it just shingles~” when referring to a roof? Well did you know there are actually 10 standard steps BEFORE installing a shingle on a roof?
We do! That’s why we call it a “roofing system” and take great pride in providing you top quality durable materials. A total roofing system combines a lot of different elements – whether your home has a flat roof, high peaks, multiple levels, solar panels, or skylights – with one goal in mind, peace of mind for you.
STEP 1 – Prep and removal (this is where we ready the ground below, then take away the old roof above)
STEP 2 – Inspect and repair (very important step where we look for damage, do replacements, or incorporate add-ons)
STEP 3 – Drip edge at eaves (the metal flashing you see {or should see~!} around bottom horizontal edges of your roof)
STEP 4 – Underlayment (felt material which helps cushion, insulate, and reduce wear)
STEP 5 – Drip edge at rakes (metal flashing along vertical edges of roof)
STEP 6 – Chalk lines across decking (helps keep shingles in alignment)
STEP 7 – Starter shingle at eaves and rakes (initial shingle product with sealant strip installed on lowest edge of roof)
STEP 8 – Offset cuts on shingles (staggered pattern of a consistent measurement, usually 4-6 inches ensuring complete coverage and gives attractive visual pattern)
STEP 9 – Install shingles (adhere rows of 3-tab shingles to roof distinguished by three uniform cutouts, or tabs made along the lower edge of shingles. Each shingle looks like three separate pieces when installed, but it’s only one)
STEP 10 – Leak barrier on all valleys around roof penetration (self-adhesive mineral or film-surfaced product to help prevent leaks caused by wind-driven rain)
If you have recent storm damage, have noticed a leak or discoloration, or simply know it’s time to replace an old roof – give us a call for more information about our roofing system services, or fill out our online form to request a FREE inspection!